Making a DIY bookmark
I read for a month without a bookmark, lost my page after a three day break, and made this one instead of buying.
I have been reading most nights for about a month now. Atomic Habits, a few pages at a time, nothing serious. The one thing I never had was a bookmark.
So I did the lazy thing instead. I'd remember the last idea I read. If the page was about something in the kitchen, I'd hold on to "kitchen", and the next night I'd flip around until I hit that bit again. Usually took a minute, sometimes less. It worked well enough that I never bothered fixing it.
Then I skipped 3 days.
I picked the book up again yesterday night and whatever I was supposedly holding in my head had gone. I flipped forward, flipped back, read half a page before realising I had already read it. Ten minutes of that, and by the time I found the spot I'd lost the mood to read at all.
Fine. I need a bookmark.
Buying one felt silly
I could have bought one. There are nice ones, feather ones, leather ones with a little tassel. But it is a piece of something that sits inside a book, paying for that didn't felt right for me.
So I asked my usual LLMs for Do it Yourself versions and got a long list back. Paper clips with tape on them. A strip cut off a cereal box. An old bus ticket. Greeting cards, which is what most people actually use.
One suggestion was different though: a square of paper folded into a triangle that slips over the corner of the page (Origami).
That one stuck with me because of where it sits. A flat bookmark lies between two pages and slides out the moment you carry the book in a bag. A corner one grips the page instead. And it marks the corner you stopped at, so you get the page and the side in one look.
The fold
Took about a minute.
- Take a paper from sticky notes (I usually have a stack of sticky notes inside my desk, gifted by a senior himself during my college days) or cut a square from any normal paper. Mine is roughly 8cm. Anything near that works.
- Fold it in half diagonally so you get a triangle with the point up.
- Fold the bottom left corner up to the top point, then the bottom right one the same way. You'll end up with a small square. Unfold both of them again.
- Take only the top layer of the top point and fold it down to the bottom edge. That flap makes the pocket.
- Fold those two side corners back up along the creases you already made, and tuck them into the pocket.
Then slide it onto the top corner of your page. Still struggling? Check out this video.
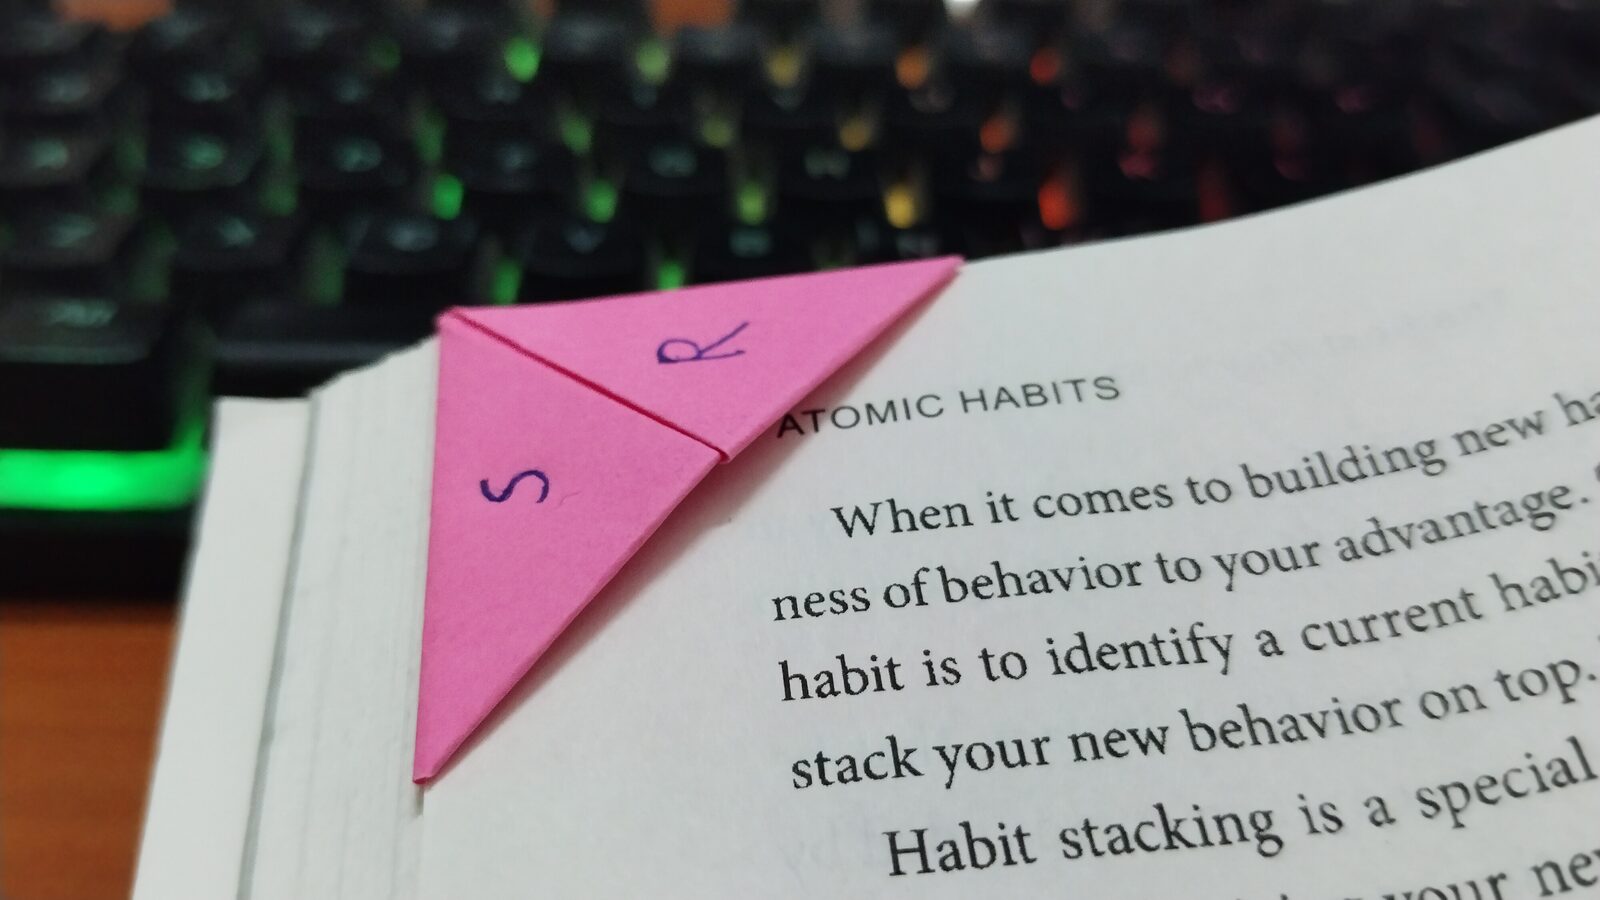
I put my initials on the front. The blank pink triangle looked unfinished otherwise.
One night in
It fits me better than I expected. The book closes flat with it on, it doesn't fall out when I move the book around, and finding my page now takes no thinking at all. I open the book at the triangle and I'm there.
What gets me is the maths of it. One square of paper and a minute of folding, against a month of flipping pages every single night and one very annoying ten minute hunt. I had the problem the whole time. I just kept paying the small cost instead of the smaller one.
If it wears out I'll fold another. That's the good part about a bookmark made of paper you already had.
A small paper bookmark made by hand, a reminder that practical ideas often begin with the simplest materials.
References
- 01Easy Origami Bookmark Corner - How to make a Corner Bookmark DIY — Red Ted Art (Youtube)